
Nowadays you might be seeing Focassia breads in your Gourmet stores. However attractive they may look, they are very pricey. I used to get the Focassia occasionally for making Bruschettas which my kids love.
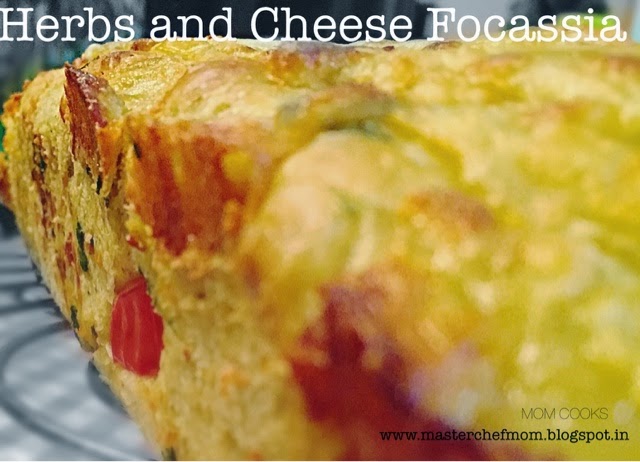
When I started baking breads, I tried various flavours of Focassia. But the recipe I am going to share today is my favourite. The bread is super soft and light. And to top all this, is the burst of cheese and the flavour of mint.
As I baked this along with the Pull apart breads, could'nt find time for proper photo shoot. So do bear with these quick clicks...
Also, I want to thank all of you for bearing with my average writing skills. I guess, I have finished my ranting...so over to the recipe now.

INGREDIENTS
APF( Maida) -4 cups 2
Instant dry yeast-1 tbsp
Salt-1 tsp
Sugar -1 tbsp
Olive oil/ butter-2 tbsp
Mint leaves, cilantro- finely chopped( you can use as much as you want)
Grated raw garlic( optional)- 3 to 4 pods ( you can add more if you like)
Bell peppers- green,red and yellow (finely chopped)
Dry Basil leaves- 1 tsp
Freshly ground pepper-1 tsp
Ground chilli ( green)- 1 ( you can use mortar and pestle for this, also this is optional). You can also use chilli flakes.
Roughly chopped Cheddar and Mozarella Cheese- 1 cup
Warm water-2 cups( adjust)
Let us start making our Focassia bread.
METHOD
1. In a large bowl, first add APF,then add salt,sugar,yeast, dry spices and using a fork mix well.

2. Heat water upto a point that when you dip your finger ,you must be able to count upto 5. So, the water is neither too hot or just warm. This is the right temperature for the growth of yeast.
3. Make a well in the bowl and add the water. Using the fork mix the batter. Now add all the herbs ,veggies and chilli paste and start kneading. The dough has to be sticky. The more sticky the dough ,the softer the bread.
4. Kneading a sticky dough can be tricky and needs practise. But do not give up. Just imagine the soft Focassia that is just 2 hours away ! Flour the working board and your hand and start to knead. This does not require hard kneading. A gentle 7 to 10 minute kneading is more than sufficient.

5. Grease a large bowl with oil, transfer the dough and cling wrap the bowl loosely. You can also use a damp cloth. Let is rise in a warm place. If it is summer time, then this step is a breeze. The dough will rise beautifully. Just make sure to use water in the right temperature when mixing the yeast.
6. After an hour, the dough will double in size. Punch the dough to deflate. Grease a loaf pan and transfer the dough using a spatula( as the dough is sticky).

7. Cover the pan again and let it rise. It will take 40 minutes to an hour.
8. Preheat your oven for 10 minutes. Top the bread with cheese. Now, bake the bread at 160 degrees for 15 minutes. Remove from the oven , cover the bread with alluminium foil and bake or another 20 minutes or little more. You can see the cheese beautifully browned. Also check whether the bread is done by tapping the bottom of the loaf pan. If you hear a hollow sound, it means that your bread is done.

IMPORTANT NOTE:
a.The baked bread will be very light. If the pan is heavy, it means that you need to bake it further.
b.Covering the bread with foil helps to avoid burning of Cheese.
C. You can avoid kneading completely. Just make sure that the dough has risen beautifully.
d.Make sure to mix all the ingredients uniformly using a fork.
9. After 5 minutes, remove the bread from the pan and let it cool in the cooling rack.

It is best to use it the next day for making breakfast Bruschettas !!simply yummy.
I made RAINBOW BRUSCHETTAS which was a big hit in my kitchen. here is the link
Do try these yummy recipes, as you know that adding variety to food brings more smiles !
HAPPY COOKING!
With love,
MASTERCHEFMOM


No comments :
Post a Comment
Your comments here...